A key feature of Business Central is the “Edit in Excel” option, available on nearly every page. This feature lets you open master records, journals, and documents in Excel, where you can create new records, delete old ones, or modify data while following system rules.

Common Use Cases for Edit In Excel
- Bulk Updates: During implementations or after going live, new business requirements may require updating many records. For example, if you change Payment Terms for customers, using Excel is a faster way to update all records at once instead of doing it one by one.
- Creating Journal Entries: Companies often use different software for various business functions and may need to import entries into Business Central from external systems. Most systems can export to Excel, which makes Edit in Excel an obvious choice to bring it over. For example, payroll needs to be imported because Business Central does not have a payroll module. There’s an existing Payroll CSV import option available (Click here for more information) but Edit in Excel may work better for you.
- Bulk Deletion: Deleting a record from the Excel table also removes it in Business Central after publishing. Many tables in Business Central don’t support mass deletion, so using Edit in Excel is the best choice. If you accidentally added 200 extra customers to an 800-record customer list, you could easily remove them this way!
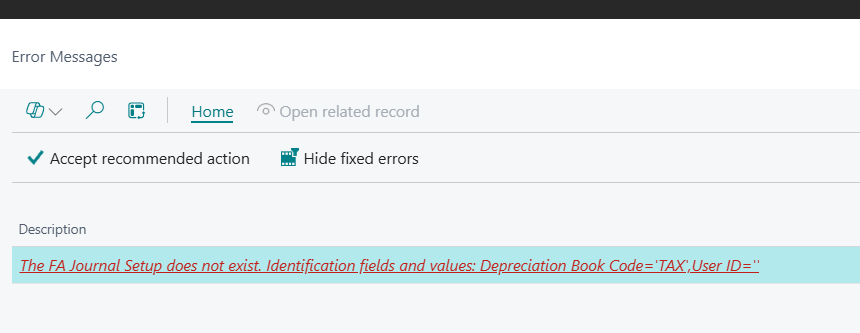
IMPORTANT: Edit in Excel follows the same system logic as the Business Central interface. You can only create, insert, or delete records allowed by the system. Restrictions, such as not being able to delete or change most fields of a General Ledger Entries, still apply.
How to use Edit in Excel
The steps below explain how to create and use a template. This feature applies to master records, documents, and more, but I’ll use a General Journal as an example for this blog post.

- First, export the General Journal to excel using the Edit in Excel button giving you a starting point.
- Design your template to fit your needs by removing columns, adding custom columns, and rearranging them. More on this later in the post.
- After designing, Save the file locally or in a shared location for your team. Next time, do not use the Edit in Excel button in Business Central, as it will revert to the original export without your changes. Your edits will be in the file you saved.
- Before using the saved template again, always Refresh the sheet. This pulls the latest data from Business Central into the Excel table. If you skip this, you’ll have to refresh during Publish, which will overwrite your work. Again, ALWAYS REFRESH!!! Redoing work blows, don’t do that to yourself.
- The New button will create a new row in the table. However, you can just enter directly into the excel table like normal, so this button isn’t really ever used.
- Filter and Design allow you to customize the columns and rows that you see. More on this below.
- Click the gear icon in the top right of the Data Connector to get options to switch between environments and companies.
How to Design an Edit in Excel Template
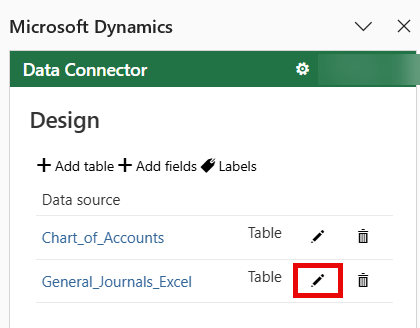
- Template Creation: When you first open Edit in Excel, you’ll see a lot of extra columns in the table. Start by cleaning this up: click on the Design button and then the Pencil Icon for the data source to add or remove fields.

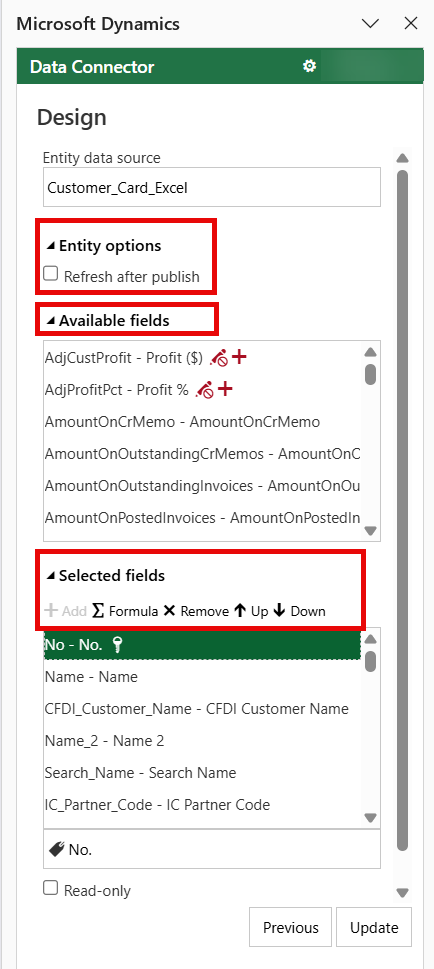
Design Mode Options
- Entity Options: Refresh after publish. This will update your Excel table with the latest data from Business Central after you publish your data. I recommend keeping this on.
- Available Fields: These are fields you could add to the template that are not currently shown.
- Selected Fields: These are the fields displayed in the table. You can rearrange them using the Up or Down buttons or remove any that are unnecessary. Fields with the Key icon next to the name must remain, as they are the primary keys required by Business Central.
- Formula: Create custom columns for calculations using Microsoft Excel formulas with structured references. Pro Tip: AI is great for writing these formulas! I used Copilot and literally would of never figured this out 😂
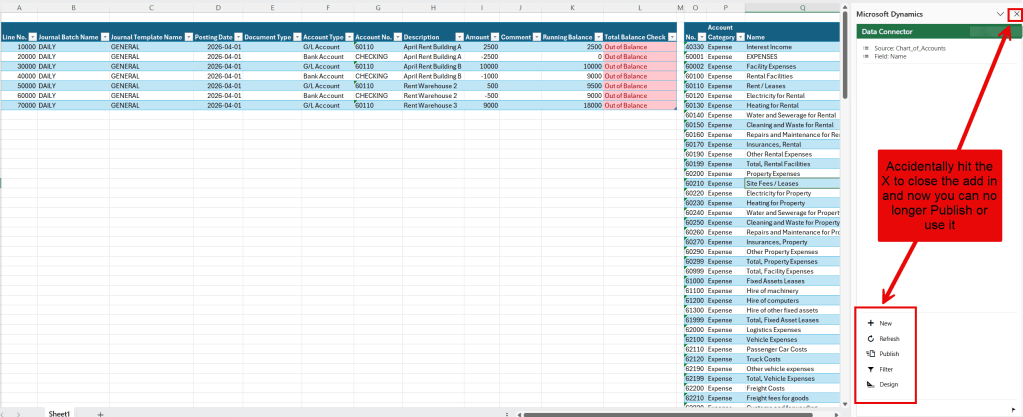
- Running Balance: Shows the total of all entries up to the current line for quick balance checks after entering Debits and Credits. Code below:
=SUM(INDEX([Amount],1):[@[Amount]])
- Total Balance Check: This shows if the journal lines total is balanced to zero. Conditional Formatting highlights “Out of Balance” in red. Code Below:
=IF(ABS(SUM([Amount]))<1E-5,"Balanced","Out of Balance")
Expand to See Picture of Design Options
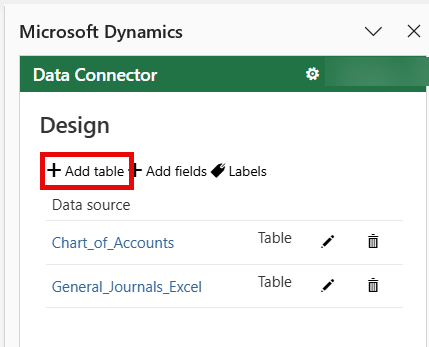
Adding Additional Tables
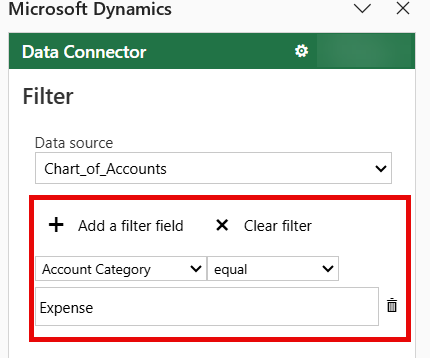
You can add multiple Business Central tables to Excel which can be helpful in many scenarios. For instance, I often create journal entries for Expense accounts and need a quick way to view them without opening Business Central. To do this, I included the Chart of Accounts table and applied a Filter for accounts with an Account Category of Expense. This only took two steps:
- Add Table: Click Design and then choose Add Table
- Add Filter: Select Filter and then Add a filter field to create one.
Watch this video demonstration below of me using a template that I’ve already customized.
Common Issue: If your Edit in Excel add-in is missing or you accidentally closed it, here’s how to fix it: Business Central Edit in Excel Add-in Not Showing
Thank you for reading, I hope you learned something new.
As always, stay SAASY my friend.
-Dino


Leave a comment